Mini Loaf Pan Recipe: Baking Perfection
Jump to Recipe
When I was a child, my grandmother used a secret weapon when baking. It was a mini loaf pan. The loaves she made every Sunday were adorable and the right size. They tasted better than anything I’d ever eaten.
Today, I got that magical mini loaf pan as a gift, which started my quest to make the best mini loaf ever. Besides making you nostalgic, they teach you how to shrink things so every crumb and crust whispers perfection.
Now let’s talk about how to turn a simple mini loaf pan recipe into a delicious work of art that would even make grandma gasp. Imagine the smell of freshly baked bread filling your kitchen.
Each mini loaf would be a proud display of your culinary skills. I want to share my favorite recipe with you so that you can enjoy the fun of baking in a charming way. Keep your eyes open, because this isn’t just a recipe. It’s the start of your journey with the mini loaf pan.
Important Information You Need to Understand
I’ve seen that mini loaf pans are very useful for baking. They allow me to make perfect, evenly sized loaves that are ideal for personal servings, giving as gifts, or trying out new recipes without having to bake a full-sized loaf. The shorter baking time and smaller portion size allow me to bake different flavors at the same time, which is ideal for parties.
From my experiences, I’ve learned that it’s important to prepare the pans well before adding the batter to avoid sticking. I’ve discovered that using butter or non-stick spray to grease the pans and occasionally dusting them with flour or lining them with parchment paper helps achieve a perfect release after baking. This step is crucial for getting that professional-looking mini loaf.
It’s really important to change the baking times when using mini loaf pans. Because they are smaller than regular loaf pans, I have found it helpful to start checking for doneness at least 10–15 minutes earlier than the time given for a full-sized loaf. When you insert a toothpick into the center of the loaf, it should come out clean or with a few crumbs. This indicates that the loaf has baked perfectly.
Exploring mini loaf pan recipes has allowed me to enjoy the variety they bring to my cooking experiments. These pans are perfect for making a range of dishes, whether I want something sweet like banana bread and pound cakes or something savory like meatloaves and frittatas. The small size makes me feel free to experiment with bold flavors and ingredients without the fear of wasting a whole dish if it doesn’t go as planned.
I’ve realized that cooling is just as important as baking. I let my mini loaves cool in the pan for about 10 minutes before moving them to a wire rack. This pause allows the loaves to firm up, making them easier to take out and less likely to break apart. Also, cooling on a wire rack stops the bottoms from becoming soggy, ensuring I get a perfectly textured mini loaf each time.
Choosing the right mini loaf pan
I’ve realized that not all mini loaf pans are the same when it comes to baking perfectly. When I pick a pan, I look for nonstick materials to make sure my mini loaves come out easily, but I still grease it just in case.
I like pans that are solid and heavy because they help heat spread evenly. This is important for getting that delicious golden-brown crust. Keep in mind that the color of the pan can affect baking times; darker pans can make things cook faster.
Making the perfect batter
From what I’ve seen, being precise is essential for making the perfect batter. I carefully measure my ingredients and make sure to cream the butter and sugar until they are light and fluffy. I think it’s best to use room-temperature ingredients for a smooth and even batter.
Recently, I’ve experimented with adding some citrus zest or a bit of spice, such as cinnamon and nutmeg, to my mix, and the wonderful smells they create in the kitchen are truly delightful.
Understanding baking times and temperatures
I’ve discovered that mini loaf pans need careful attention to baking times. I usually begin checking on them about two-thirds of the time it takes to bake a full-sized loaf. I set the oven to medium heat, about 350°F, to bake the loaves evenly without making the crusts too dark.
This focus on detail can change an ordinary recipe into a delicious creation.
The importance of proper cooling
After taking them out of the oven, I let my mini loaves sit in their pans for about 10 minutes. This step is important for the structure to set properly. Then, I move them to a wire rack to cool completely.
Not allowing enough cooling time can result in loaves that are crumbly or fall apart, and I make sure to prevent that.
Rich glazes and toppings
I enjoy putting the finishing touches on my mini loaves. Vanilla glaze drizzles or crushed nuts on top not only add different textures but also greatly enhance the flavors.
A friend who is also a baker once described it as a joyful dance between the sweetness of the glaze and the soft bread. It’s true; I’ve seen people’s eyes brighten with the first bite.
Different options for every event
What I find most interesting about mini loaf recipes is how versatile they are. I’ve made them for many different occasions—pumpkin spice ones in the fall, a chocolate chip kind for weekend snacks, and even savory ones with cheese and herbs.
They are a wonderful base for cooking, easily suited for both sweet and savory flavors.
Tips for freezing and storing
I really enjoy freezing mini loaves for later. You can store them in the freezer for several months by wrapping them securely in plastic and foil. However, I always remember to let them reach room temperature on their own before serving; otherwise, I could affect their delicate texture.
Tips for Baking Mini Loaves
Select a good mini loaf pan that is nonstick and sturdy for consistent heating.
Accurately measure your ingredients to achieve the best consistency for your batter.
Watch the baking times carefully; they are different from those for regular-sized loaves.
Make sure to pay attention to the cooling process; being patient is important in baking.
Think about using glazes and toppings to bring extra flavor and texture.
Try different variations to make your mini loaf collection more interesting.
Keep leftover loaves in the right way by storing or freezing them to keep them fresh.
Concluding Thoughts on Mini Loaf Pan Recipes: Baking Success.
When I bake with my mini loaf pans, I always enjoy the personal-sized treats that come out of my oven. Their small size makes them ideal for gifts or perfectly sized snacks. In my experience, using a reliable batter, whether sweet or savory, and adjusting the baking times leads to the best results. With these pans, anyone can bake perfectly, one small loaf at a time.
These pans yield adorable results and are versatile and convenient to bake with. Whether you are a skilled baker or just starting out, I invite you to try different recipes using your mini loaf pans. They really improve your time in the kitchen and make baking more enjoyable and satisfying.
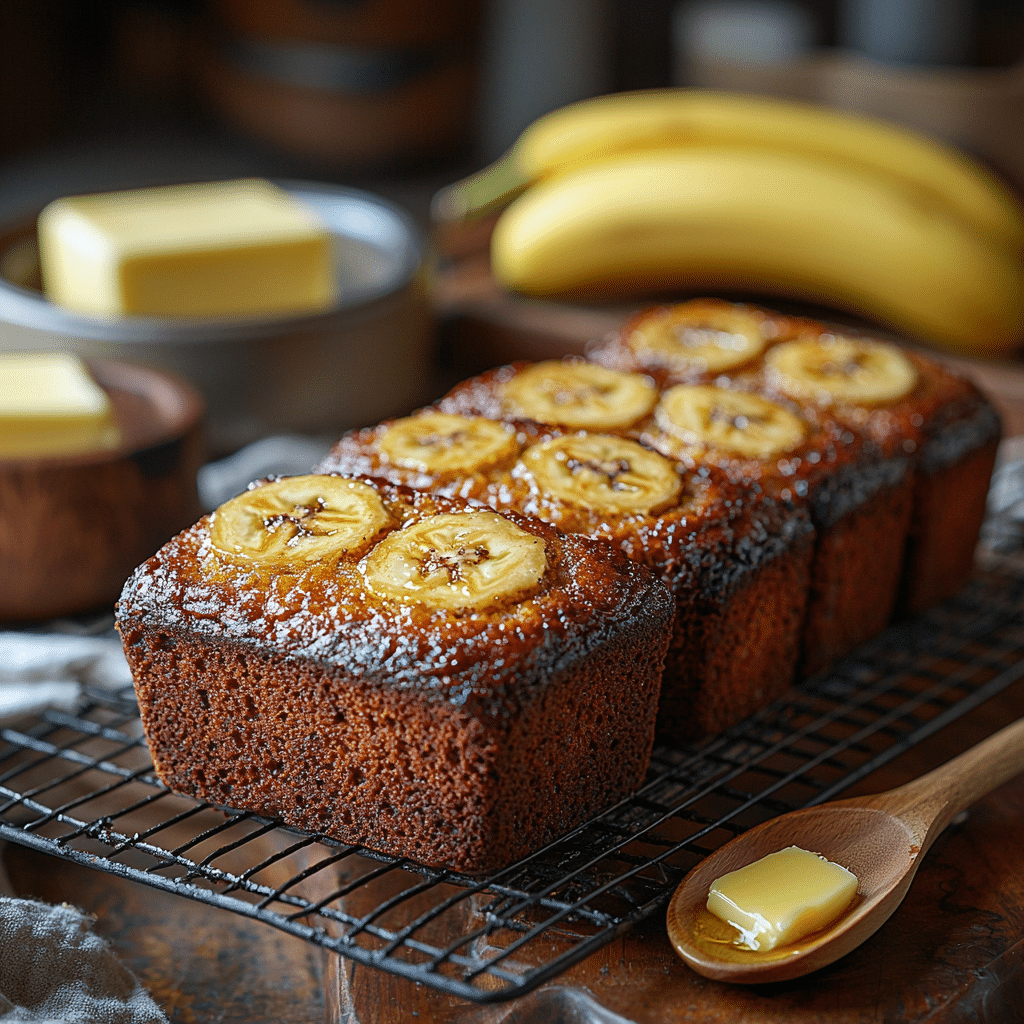
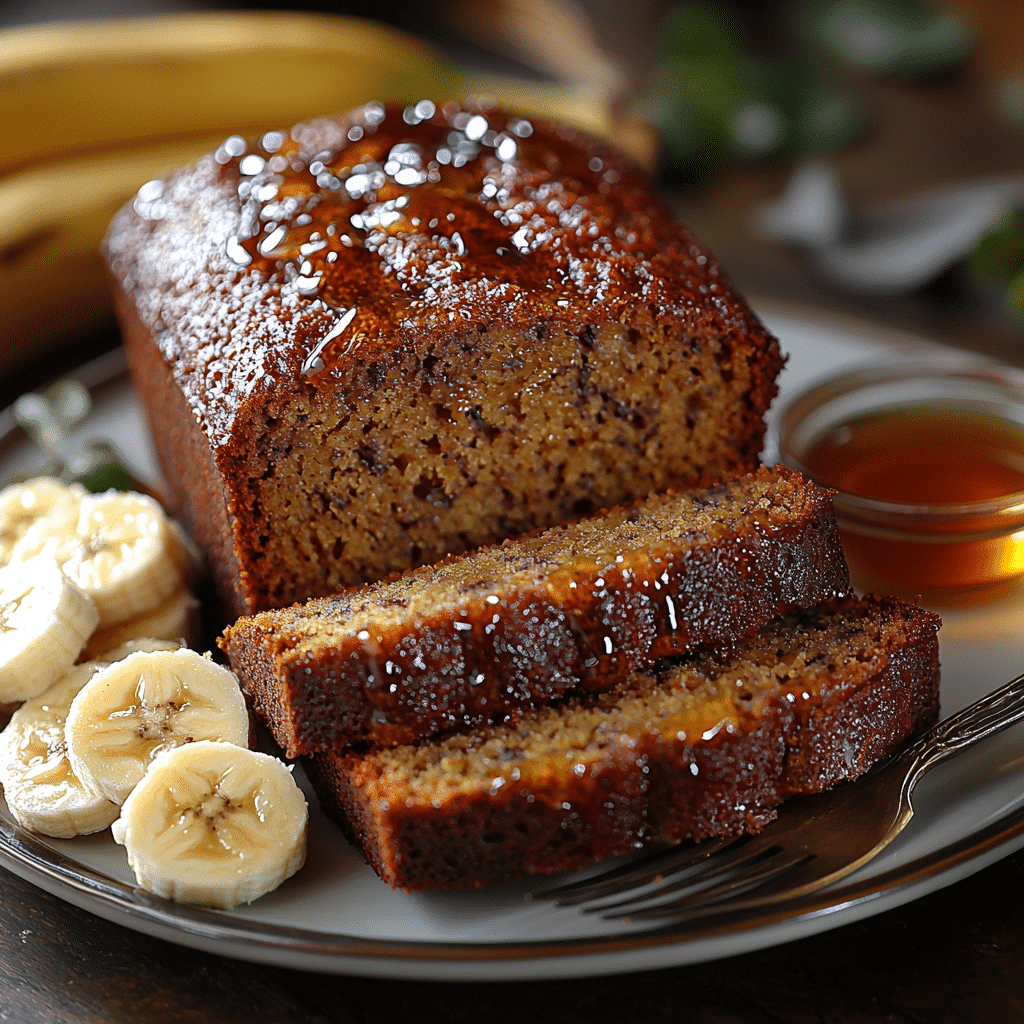
Mini Banana Bread Loaf
Ingredients
Method
- Preheat your oven to 350°F (175°C) and grease the mini loaf pan with butter or non-stick spray.
- In a mixing bowl, combine mashed bananas and melted butter.
- Stir in the sugar, beaten egg, and vanilla extract until well mixed.
- Sprinkle the baking soda and salt over the mixture, then fold in the flour.
- Pour the batter into the greased mini loaf pan, filling it about two-thirds full.
- Bake for 25-30 minutes, or until a toothpick inserted into the center comes out clean.
- Let the mini loaves cool in the pan for about 10 minutes, then transfer them to a wire rack to cool completely.
Notes
- You can add mix-ins like chocolate chips or chopped nuts to give the bread extra flavor.
- If your mini loaves start browning too quickly, cover them loosely with foil in the last 10 minutes of baking.
FAQ
What type of batter works best in a mini loaf pan?
You need a batter that is just the right consistency to make the ideal mini loaf—not too runny to hold its shape, and not too stiff for even cooking. Imagine a classic banana bread or pound cake batter that is simple to spread but still keeps its shape.
How do I adjust baking times for mini loaf pans?
Mini loaf pans usually need less time in the oven compared to full-sized ones because they are smaller. Start checking your bread for doneness around two-thirds of the way through the baking time suggested in the recipes. Monitor it until it reaches the perfect baked state.
Is it necessary to alter ingredient quantities for mini loaf pans?
No, not at all. Simply take your regular recipe and pour the batter into the mini pans. This method lets you make smaller loaves without changing the ingredient amounts.
Do mini loaf pans require special preparation before baking?
Getting your pans ready is very important. Make sure to grease them well or use parchment paper to ensure that your perfect little creations come out easily after baking.
Can any loaf recipe be used in a mini loaf pan?
Of course! Many loaf recipes work well in mini loaf pans. Keep in mind that smaller loaves will bake more quickly, so you may need to change the baking time.
What’s the fill level for batter in a mini loaf pan?
Generally speaking, to allow the batter to rise without spilling, fill your mini loaf pans to about two-thirds full.
How can I ensure my mini loaves don’t dry out?
To ensure your mini loaves stay moist, avoid overbaking them. Check them frequently during baking and use a toothpick to determine their doneness.
What’s the best way to store mini loaves after baking?
After they have cooled, wrap your mini loaves in plastic wrap or keep them in an airtight container. This keeps them moist and preserves their wonderful flavor.
Is it possible to make gluten-free mini loaves?
Absolutely! Simply replace your regular flour with a gluten-free option and follow the instructions in your recipe for gluten-free baking.
Can you use mini loaf pans for savory recipes?
Savory loaves, such as mini zucchini or cheese bread, bake beautifully in these pans. Make sure to use the right herbs and spices that go well with your dish.
About The Author
John
John Watson is the passionate food enthusiast behind MePlusFood.com. With a deep love for exploring culinary delights, he shares honest restaurant reviews, mouthwatering recipes, and culinary adventures. Join John on his flavorful journey to savor the world one bite at a time.