Silky Roasted Garlic Cannellini Bean Dip with Lemon
Jump to Recipe
Roasted Garlic and Cannellini Bean Dip turns two heads of garlic and a couple cans of white beans into a spread that’s creamy without any dairy. Roasting the garlic first strips out the sharp bite and leaves behind something closer to caramel, sweet and soft enough to squeeze straight from the skin.
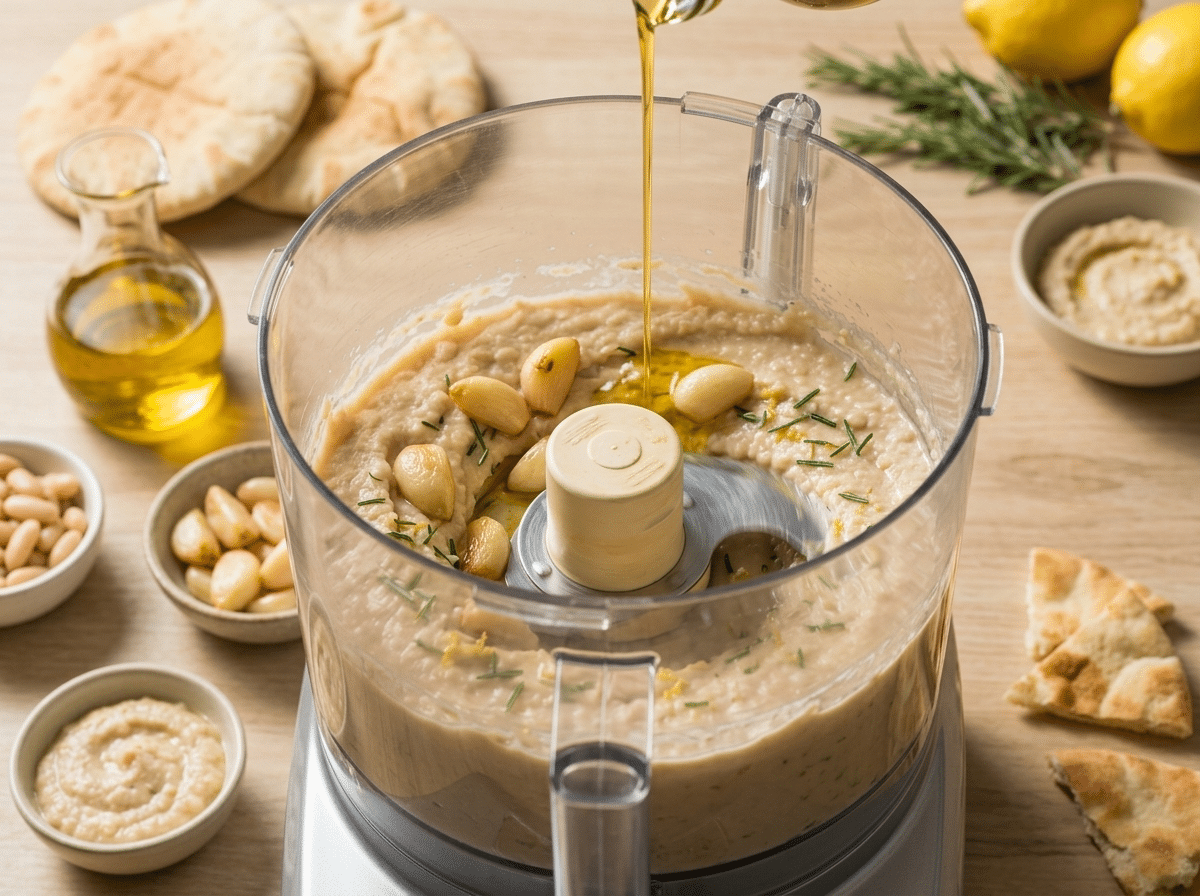
I blend the roasted cloves with cannellini beans, a spoonful of tahini, and lemon juice until the mixture turns pale and glossy. A food processor gets it smoother than a hand masher, though a few pulses with a fork works if you don’t mind more texture.
The whole thing comes together in about an hour, most of that hands-off roasting time. You’ll have a dip that holds up next to crudités, warm pita, crispy polenta chips, or just a spoon straight into the bowl.
Why You’ll Love This Recipe
- Comes together with 8 pantry-friendly ingredients
- Roasted garlic replaces the need for cream or cheese
- Keeps well in the fridge for meal prep
- Naturally vegan and gluten free
Ingredient Notes
- garlic: Use two whole heads, not pre-peeled cloves. Roasting them whole mellows the bite and lets you squeeze soft cloves straight into the processor.
- cannellini beans: Two 15 oz / 425 g cans give the right creamy base. Great Northern beans work as a swap if that’s what’s in the pantry.
- tahini: Adds a faint nutty backbone without tasting like hummus. Skip it or sub 1 tbsp more olive oil if you don’t have any on hand.
- lemon juice: Fresh juice cuts through the richness of the tahini and oil. Bottled juice works in a pinch but tastes flatter.
- olive oil: Used for roasting, blending, and the finishing drizzle. Pick a decent-tasting oil since it’s the main fat in the dip.
- reserved bean liquid: Thins the dip to a spoonable texture without watering down flavor. Plain water works if you rinsed the beans well and have none left.
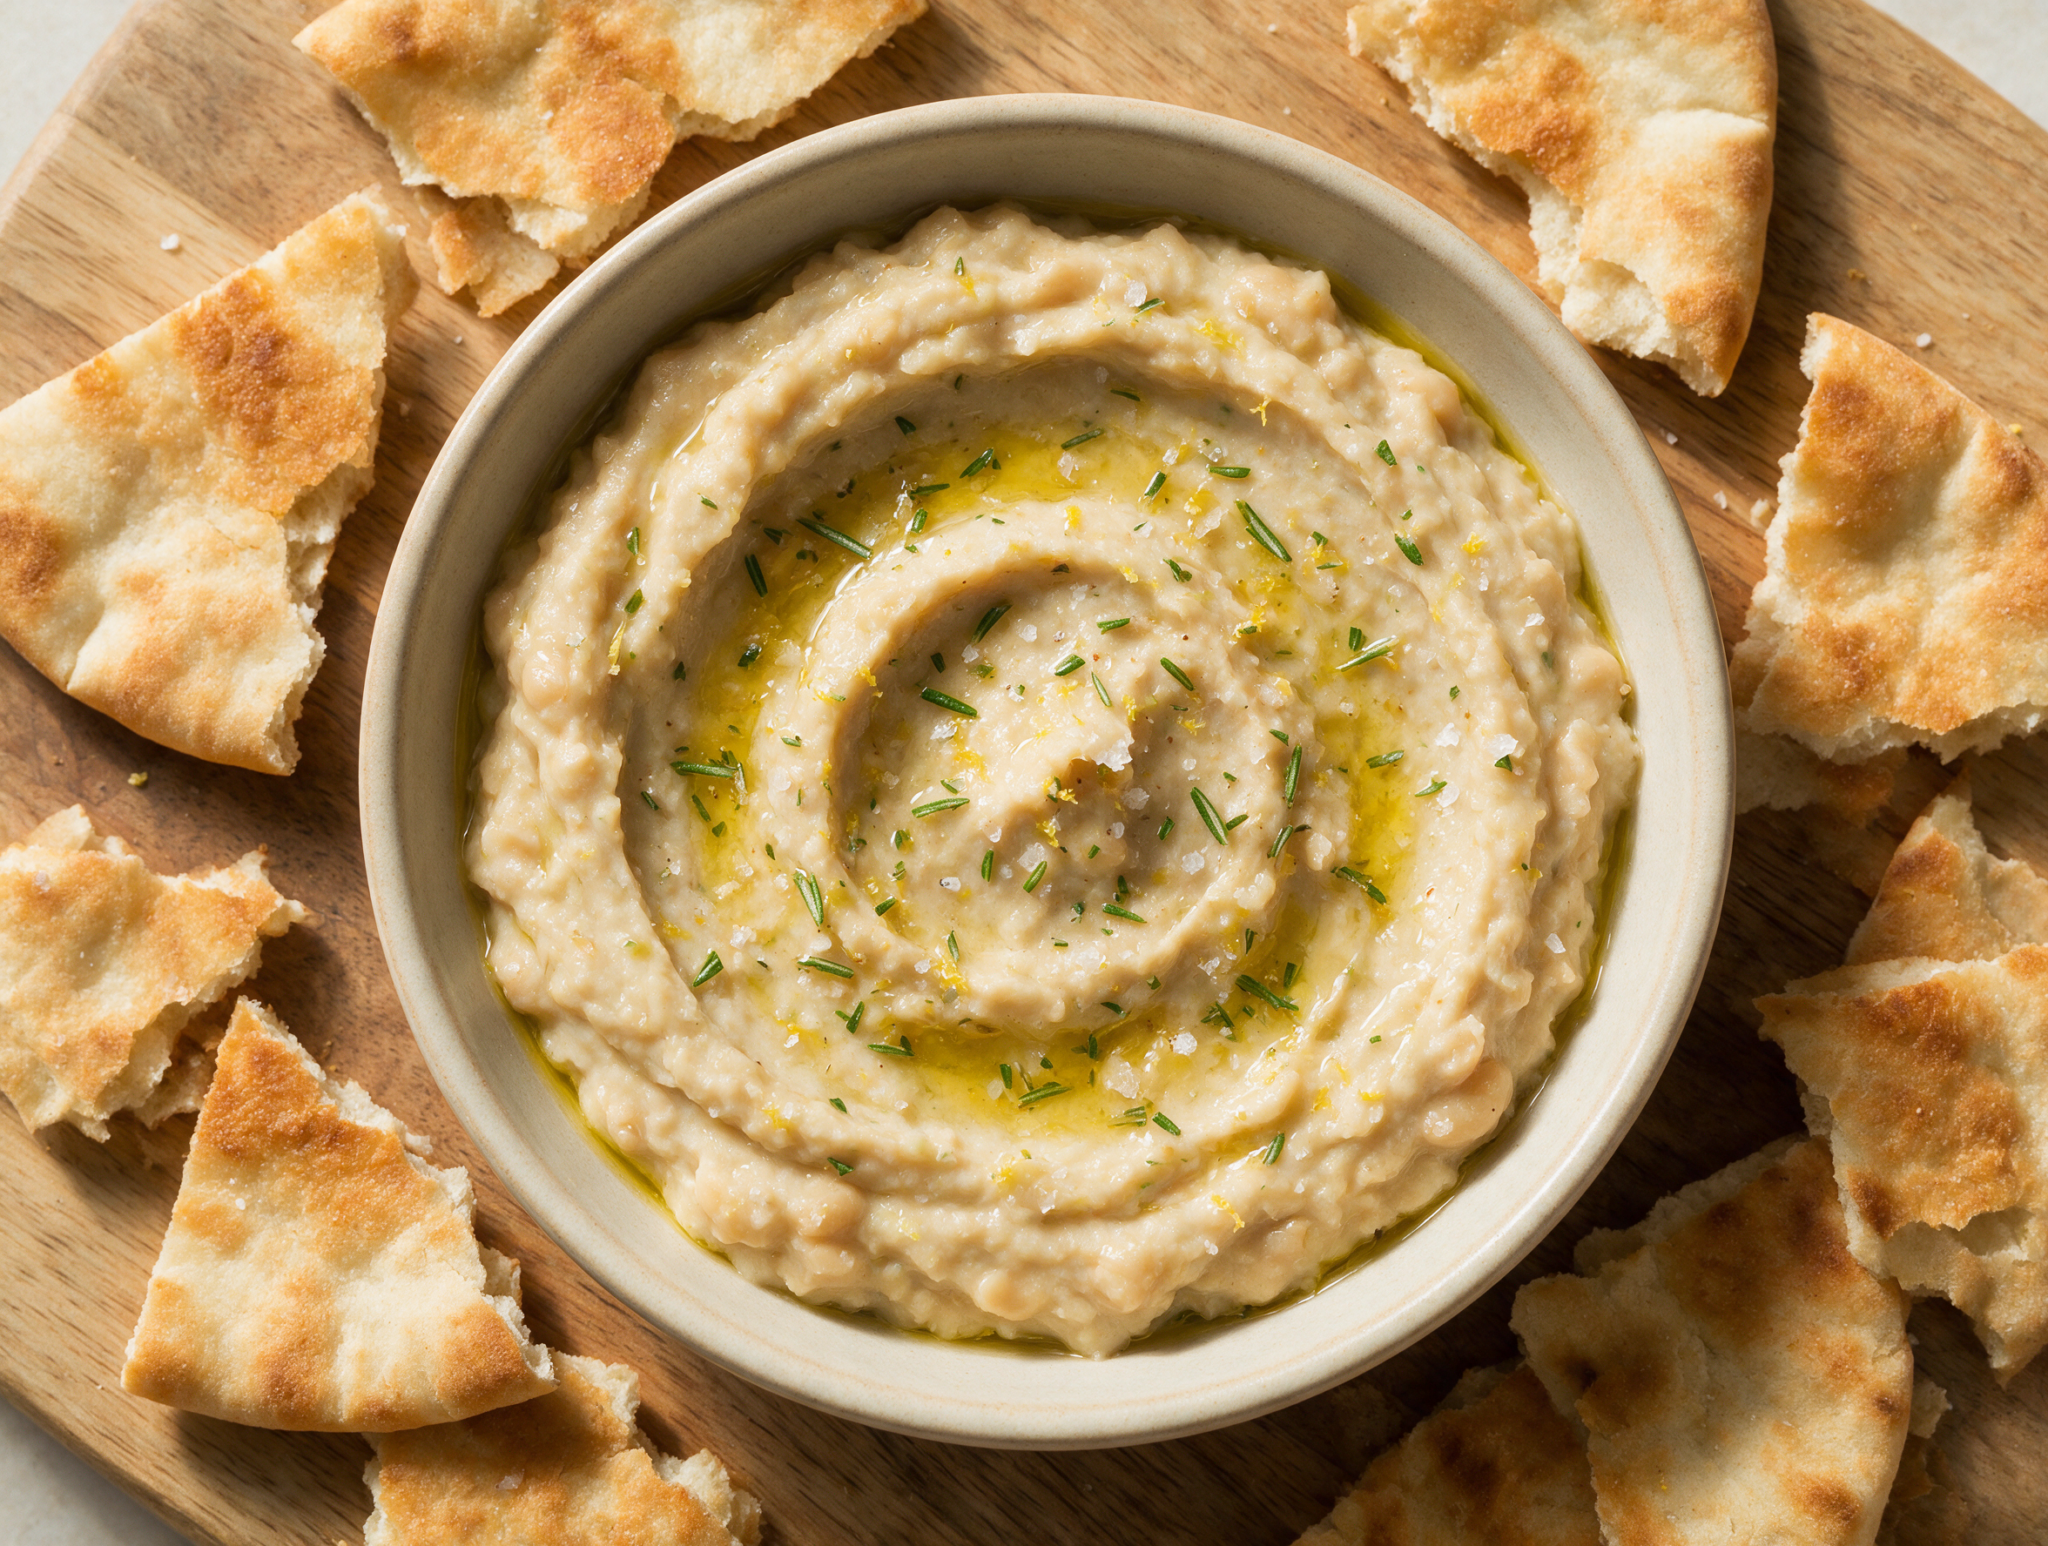
Silky Roasted Garlic Cannellini Bean Dip with Lemon
Ingredients
Method
- Heat the oven to 200 C / 400 F. Slice the top 1/4 inch off each garlic head to expose the cloves.
- Place both heads on a sheet of foil, drizzle with 2 tbsp olive oil, and wrap tightly.
- Set the wrapped garlic on a sheet pan 33 x 23 cm / 13 x 9 inch and roast for 40 to 45 minutes, until the cloves are soft and golden and give no resistance when pressed.
- Unwrap and let cool for 10 minutes, then squeeze the cloves out of their skins into a small bowl. Discard the skins.
- Drain and rinse the cannellini beans, reserving 1/4 cup / 60 ml of the liquid from one can.
- Add the roasted garlic cloves, beans, tahini, lemon juice, 3 tbsp olive oil, salt, and pepper to a food processor.
- Blend for about 2 minutes, stopping once to scrape down the sides, until the mixture turns smooth and glossy.
- Add the reserved bean liquid 1 tbsp at a time, blending between additions, until the dip is thick but spoonable.
- Taste and adjust salt and lemon juice as needed.
- Transfer the dip to a serving bowl and swirl the top with the back of a spoon.
- Drizzle with the remaining 1 tbsp olive oil and scatter chopped rosemary and flaky salt over the top. Serve with warm pita or raw vegetables.
Notes
- Slice tops off garlic heads and drizzle generously with oil before wrapping in foil.
- Reserve bean liquid before rinsing, you'll likely need it to thin the dip.
- Don't skip the lemon juice, it balances the sweetness from roasted garlic.
- Let the dip sit 10 minutes after blending so flavors settle before serving.
Tips for Success
- Roast the garlic a day ahead so it has time to cool and deepen in flavor before blending.
- Squeeze cloves from the skins while they’re still warm, they release easier than once fully cooled.
- Add the reserved bean liquid one tablespoon at a time so you don’t thin the dip past spoonable.
- Taste before adding all the salt, roasted garlic and canned beans both carry some sodium already.
- Blend for a full 2 minutes for the smoothest texture, scraping down the sides once partway through.
Variations
- Stir in 2 tbsp chopped sun-dried tomatoes for a sweeter, more savory version of the dip.
- Swap half the cannellini beans for chickpeas if you want a firmer, more hummus-like texture.
- Fold in fresh rosemary or thyme straight from roasting the garlic for an herbal edge.
Storage and Reheating
Store the dip in an airtight container in the fridge for 4 to 5 days. The surface may darken slightly from the lemon juice and olive oil, that’s normal and doesn’t affect flavor.
This dip also freezes well for up to 2 months. Thaw overnight in the fridge and stir in a splash of water or olive oil to loosen the texture before serving.
To serve warm, microwave in 20-second bursts, stirring between each, until just warmed through. Most days I serve it cold or at room temperature straight from the fridge.
Serving Suggestions
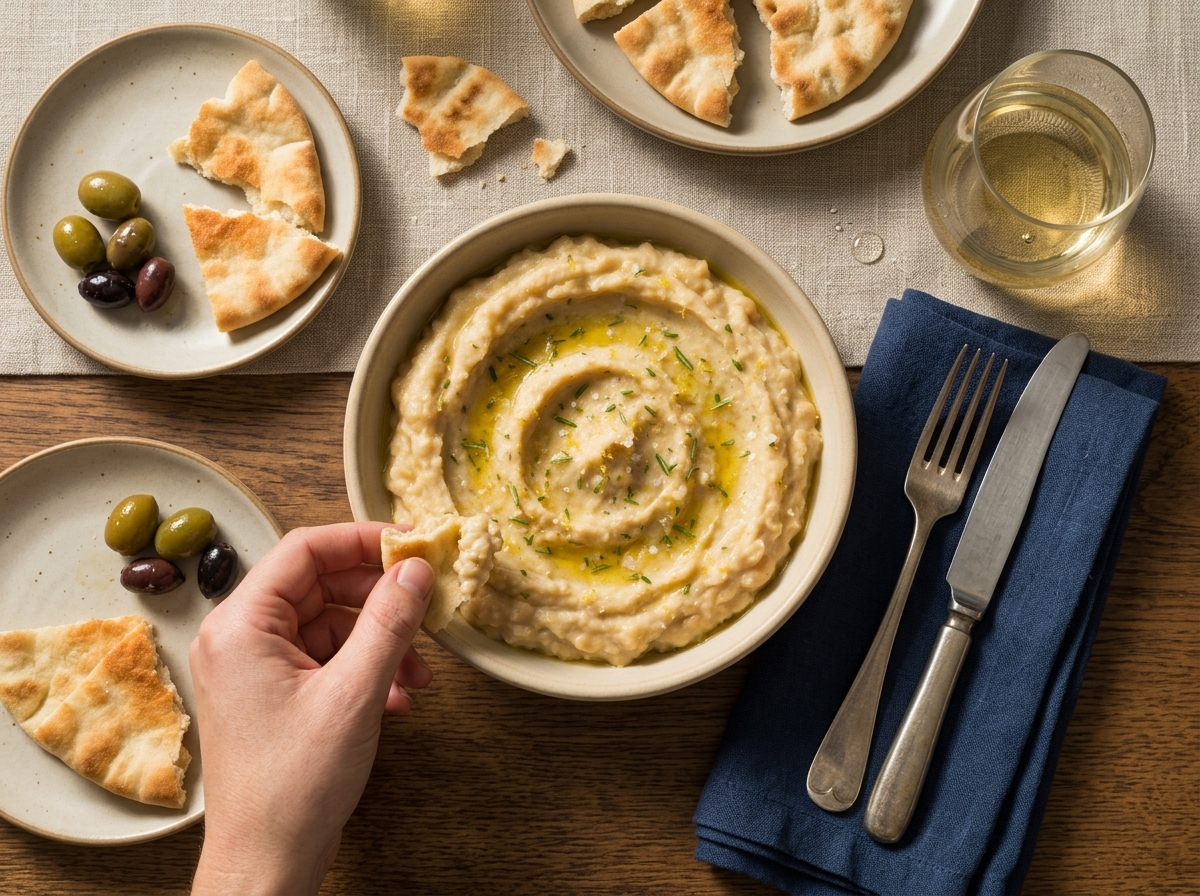
Warm pita wedges or thick-cut sourdough make the best scooping tools for this dip. Raw vegetables like celery, radishes, and cucumber spears add crunch against the smooth texture.
For a fuller spread, set the bowl next to olives, a roasted red pepper walnut dip, and a wedge of feta. It works as a starter for a Mediterranean-style dinner alongside grilled aubergine with tahini drizzle or as the base of a grain bowl with roasted vegetables spooned over the top.
FAQ
Why is my roasted garlic and cannellini bean dip too thick or grainy?
A grainy or thick dip usually means the beans didn’t get blended long enough or the garlic wasn’t fully soft. Run the food processor for a full 2 minutes, scraping down the sides once, and add reserved bean liquid a tablespoon at a time until it turns glossy and spoonable.
Can I use chickpeas instead of cannellini beans for this dip?
Yes, chickpeas work as a swap for cannellini beans, though the dip turns firmer and closer to hummus in texture. Drain and rinse them the same way, and add an extra splash of reserved liquid since chickpeas hold less moisture than cannellini beans.
How far ahead can I roast the garlic for this bean dip?
You can roast the garlic up to 3 days ahead and keep it in the fridge, covered, until you’re ready to blend. The flavor actually deepens after a day, so this step is worth doing early if you’re prepping for a party or weeknight snack.
What goes well with roasted garlic and cannellini bean dip?
Warm pita, sourdough, and raw vegetables like celery and radishes all work well for scooping this dip. It also pairs with olives, roasted red peppers, and feta for a fuller Mediterranean-style spread, or as a spread on a sandwich instead of mayo.
Is roasted garlic and cannellini bean dip gluten free?
Yes, this dip is naturally gluten free since it’s built from beans, garlic, tahini, and olive oil with no flour or thickeners. Just double check your serving items, since pita and crackers often contain gluten even though the dip itself doesn’t.
How do I know when roasted garlic is soft enough to squeeze out?
Roasted garlic is ready when the cloves turn soft and golden and give almost no resistance when pressed, usually after 40 to 45 minutes at 200 C / 400 F. You should be able to squeeze the papery skin and have the cloves slide right out.
You might also like
About The Author

John
John Watson is the passionate food enthusiast behind MePlusFood.com. With a deep love for exploring culinary delights, he shares honest restaurant reviews, mouthwatering recipes, and culinary adventures. Join John on his flavorful journey to savor the world one bite at a time.