Blackberry Mead Recipe: My Complete Guide to Brewing Perfect Melomel
Jump to Recipe
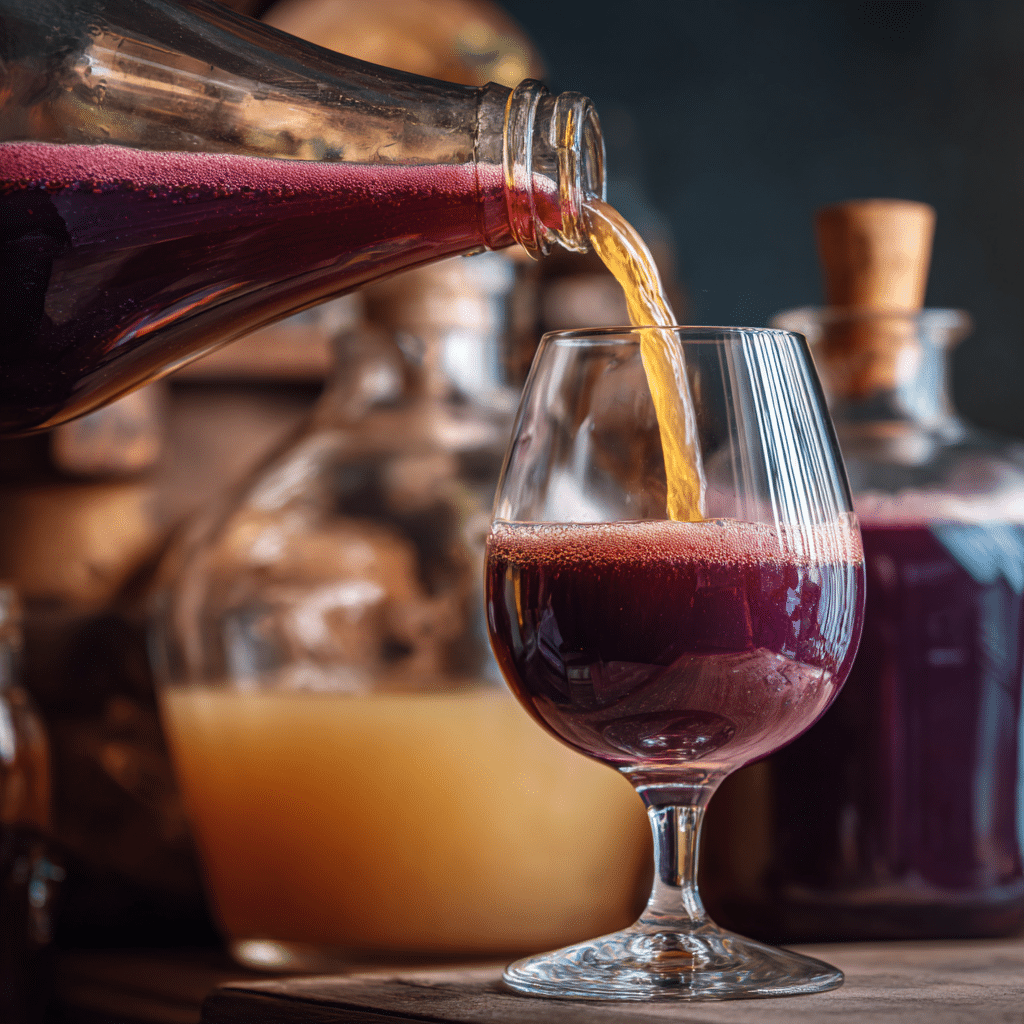
That first sip changed everything. The rich, golden-purple liquid hit my tongue with summer berries and floral honey – pure magic in a bottle. After years of tweaking my technique, I’m ready to share what I’ve learned about crafting this amazing melomel.
Blackberry mead isn’t just another fermented drink. It’s liquid poetry.
This ancient art combines honey fermentation with vibrant blackberry essence. The result? A beverage that’s both refreshing and sophisticated, perfect for any occasion.
What Makes Blackberry Mead Special
Here’s the thing about blackberry mead – it’s all about balance. Honey brings natural sweetness and complex floral notes. Blackberries add tart acidity, rich color, and deep berry flavors. Together, they create something extraordinary.
I’ve been brewing mead for over a decade. Blackberry melomel remains my absolute favorite. The berries’ natural tannins add structure while their pectin creates beautiful clarity when you handle it right. Plus, that stunning deep purple color? It’s a real showstopper.
Understanding the Basics: Mead vs. Melomel
Let’s clear this up right away.
Mead: Traditional honey wine made with honey, water, and yeast Melomel: Mead that includes fruit – blackberries in our case
This distinction matters because fruit changes everything. Blackberries bring natural sugars, acids, and tannins that affect fermentation speed, flavor development, and final alcohol content.
Choosing Your Blackberries
Your blackberries make or break your mead. Here’s what I’ve learned about picking the best ones:
Fresh vs. Frozen: I actually prefer frozen blackberries for mead making. Freezing breaks down cell walls, making juice extraction easier and more complete. Using fresh berries? Freeze them overnight before brewing.
Quantity Guidelines:
- Light berry flavor: 1-2 pounds per gallon
- Medium berry flavor: 2-3 pounds per gallon
- Intense berry flavor: 3-4 pounds per gallon
Quality Indicators: Look for berries that are deep purple-black, plump, and mold-free. Avoid berries that are red or have white spots – they’re not fully ripe and will add unwanted tartness.
Essential Equipment and Ingredients
Success starts with proper equipment. Here’s my complete list:
Primary Equipment
- 2-gallon food-grade bucket with lid
- 1-gallon glass carboy or jug
- Airlock and rubber stopper
- Siphon tube or racking cane
- Hydrometer and test jar
- Sanitizer (Star-San or potassium metabisulfite)
Secondary Equipment
- Bottling wand
- Wine bottles (750ml size)
- Corks and capper
- Straining bag or cheesecloth
- Large funnel
Ingredients Breakdown
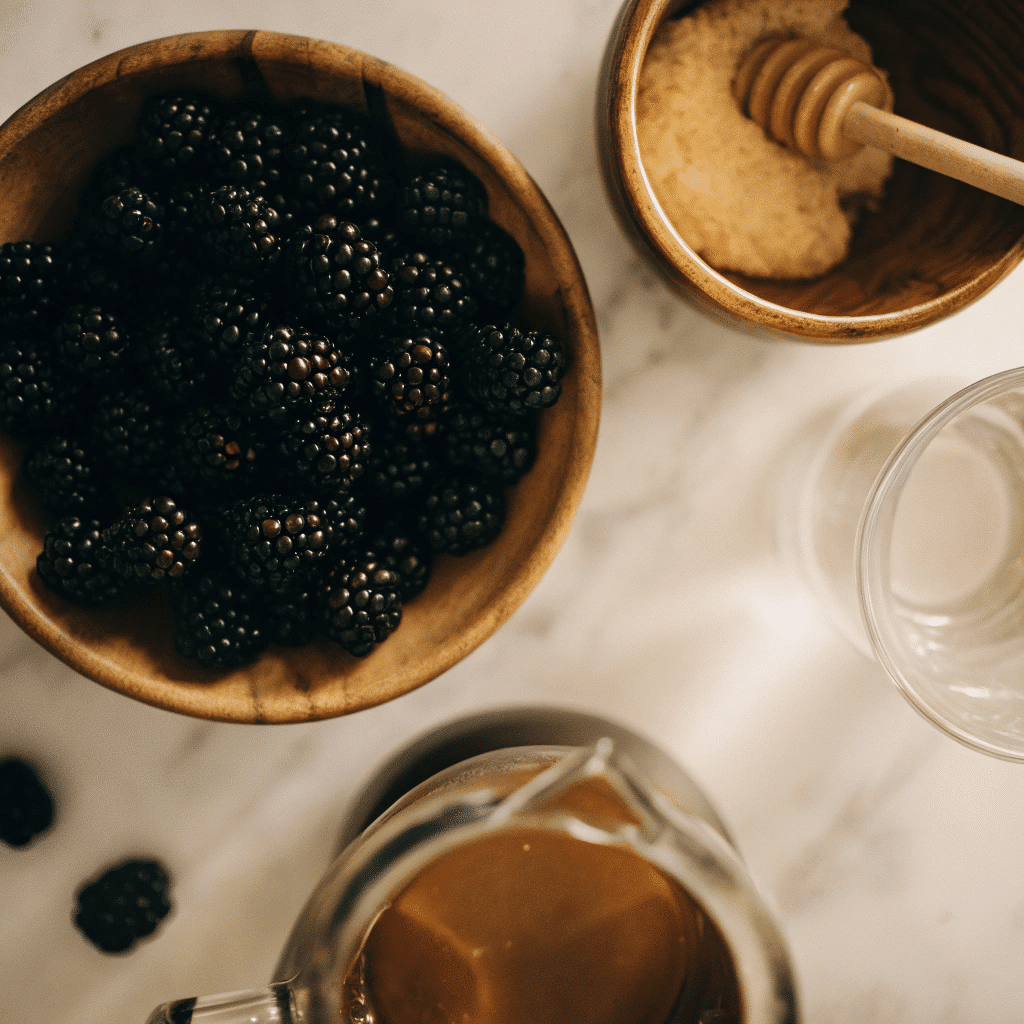
- Honey: 2.5-3.5 pounds (wildflower or clover work best)
- Blackberries: 2-3 pounds (fresh or frozen)
- Water: Filtered or spring water (avoid chlorinated tap water)
- Yeast: Wine yeast (71B-1122 or D-47 recommended)
- Yeast nutrient: Optional but recommended for healthy fermentation
Honey quality impacts your final product big time. I prefer raw, unfiltered honey from local sources when possible. Different honey varieties create unique profiles in the finished mead.
Step-by-Step Blackberry Mead Recipe
Ready to brew? Let’s dive into my tried-and-true method.
Sanitization: The Foundation of Success
First things first – sanitize everything. I can’t stress this enough. One dirty piece of equipment can ruin weeks of work.
Mix your sanitizer according to package directions. I use Star-San because it’s no-rinse and works fast. Sanitize your bucket, carboy, airlock, siphon tube, and anything else that’ll touch your mead.
Primary Fermentation (Days 1-7)
Day 1: Creating Your Must
Start by crushing your blackberries. I use a potato masher right in the fermenting bucket. Don’t worry about making it perfect – you want some chunks for texture and flavor extraction.
Heat 2 quarts of water to about 160°F. Don’t boil it – that’ll drive off delicate honey flavors. Remove from heat and slowly stir in your honey. This creates what we call “must” – the base liquid for fermentation.
Pour the warm must over your crushed berries. Add cool water until you reach about 3/4 gallon total volume. You want some headspace for vigorous primary fermentation.
Check the temperature with a thermometer. Once it’s below 80°F, sprinkle your yeast on top. Give it a gentle stir to distribute the yeast evenly.
Cover with a loose lid or cloth. You want CO2 to escape but keep bugs out.
Days 2-7: Active Fermentation
Here’s where the magic happens. Within 12-24 hours, you’ll see bubbles forming. The mixture will foam and dance – it’s alive!
Stir daily with a clean spoon. This adds oxygen and prevents mold formation on the fruit cap. The smell during this phase is intoxicating – sweet, fruity, and slightly yeasty.
By day 3 or 4, fermentation should be vigorous. You’ll hear it bubbling away. If it’s too quiet, check your yeast viability or temperature.
Secondary Fermentation: Patience Pays Off
Day 7: The First Racking
Time to separate the liquid from the fruit. This is called “racking” and it’s crucial for clarity.
Sanitize your carboy and siphon tube. Strain the mixture through cheesecloth or a fine mesh bag. I like to squeeze the pulp gently to extract extra juice – just don’t go overboard or you’ll get too much sediment.
Transfer the clear liquid to your carboy, leaving about 2 inches of headspace. Attach your airlock with a bit of water or sanitizer solution.
Weeks 2-8: Slow and Steady
Now we wait. The yeast continues working but at a slower pace. You’ll see occasional bubbles in the airlock – that’s normal.
Check weekly for activity. As fermentation slows, the mead will start clearing from top to bottom. Sediment settles at the bottom, forming what we call “lees.”
The Clarity Test
After 4-6 weeks, try reading text through the carboy. If you can make out words, it’s ready for the next step. If it’s still cloudy, give it more time.
Monitoring Your Progress
Here’s a simple gravity table to track fermentation:
| Stage | Specific Gravity | What’s Happening |
|---|---|---|
| Initial | 1.090-1.120 | High sugar content |
| Active | 1.040-1.060 | Rapid fermentation |
| Slow | 1.020-1.030 | Fermentation slowing |
| Complete | 1.000-1.010 | Ready to rack |
Don’t have a hydrometer? No problem. Watch for these visual cues:
- Bubbling stops completely
- Liquid becomes clear
- Sediment forms at bottom
- No more foam or activity
Troubleshooting Common Issues
Stuck Fermentation: Add yeast nutrient or gently warm to 75°F Too Dry: Back-sweeten with honey after fermentation completes Too Sweet: Add acid blend or let fermentation continue longer Cloudy: Time usually fixes this, but pectic enzyme can help
Bottling Your Blackberry Mead
Bottling day is exciting but don’t rush it. Patience here prevents disasters later.
Final Racking and Preparation
Two weeks before bottling, rack your mead one more time. This removes any remaining sediment and gives you crystal-clear liquid. I can’t tell you how many times I’ve skipped this step and regretted it.
Taste your mead now. It should be dry or semi-sweet, depending on your honey amount. If it’s too tart, add honey syrup gradually. Too sweet? A pinch of acid blend balances things out.
Bottling Process
Sanitize everything again. Bottles, corks, bottling wand – the whole nine yards.
Use a siphon to fill bottles, leaving about 1.5 inches of headspace. This prevents overflow and allows for any residual fermentation gases.
Cork immediately after filling. I use a hand corker for small batches – it’s simple and effective.
Carbonation Options
Want some fizz? Here are your choices:
Natural Carbonation: Add 1/4 teaspoon sugar per bottle before corking. This creates light carbonation over 2-3 weeks.
Forced Carbonation: If you have kegging equipment, this gives you more control.
Still Mead: Skip carbonation entirely. Many prefer the smooth, wine-like texture.
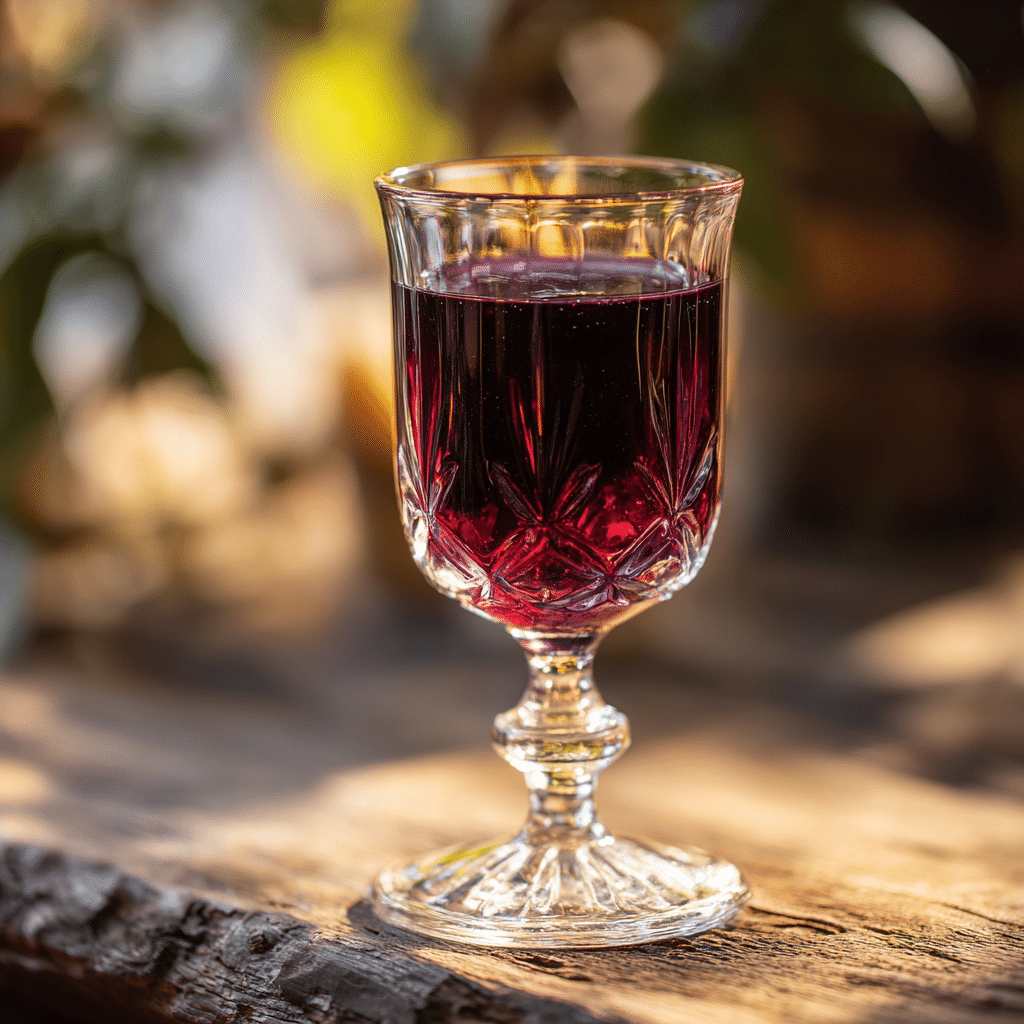
Aging: Where Good Becomes Great
Fresh mead is decent. Aged mead is extraordinary.
Short-term Aging (3-6 months)
Store bottles in a cool, dark place. 60-65°F is ideal. I use my basement – it’s naturally cool and dark.
After 3 months, try a bottle. You’ll notice smoother flavors and better integration. The harsh edges from fermentation start mellowing out.
Long-term Aging (1-3 years)
This is where blackberry mead really shines. The fruit flavors mature, honey notes develop complexity, and everything harmonizes beautifully.
I’ve got bottles from 2019 that are still improving. The berry flavors have deepened while maintaining their brightness.
Aging Environment Table
| Factor | Ideal Range | Why It Matters |
|---|---|---|
| Temperature | 55-65°F | Prevents spoilage, allows slow development |
| Humidity | 60-70% | Keeps corks from drying out |
| Light | None | UV rays can create off-flavors |
| Position | Upright | Prevents cork contact with liquid |
Flavor Variations and Enhancements
Ready to get creative? Here are my favorite variations:
Spiced Blackberry Mead
Add spices during primary fermentation:
- 1 cinnamon stick
- 3-4 whole cloves
- 1 star anise pod
- 1 vanilla bean (split)
These create a warming, complex flavor perfect for winter sipping.
Blackberry-Lavender Mead
Add 1 tablespoon dried culinary lavender during secondary fermentation. The floral notes complement blackberries beautifully. Don’t overdo it – lavender can overwhelm quickly.
Oak-Aged Blackberry Mead
Drop in 1-2 oak spirals during secondary fermentation. Medium toast American oak works best. This adds vanilla and tannin complexity.
Tart Cherry Blend
Replace 1 pound of blackberries with tart cherries. The combination creates incredible depth and balances sweetness perfectly.
Serving and Pairing Suggestions
Your blackberry mead deserves proper presentation.
Serving Temperature
Serve chilled but not ice-cold. 50-55°F lets the flavors shine. I usually pull bottles from the cellar 30 minutes before serving.
Glassware
Use wine glasses for best experience. The bowl shape concentrates aromas while the narrow rim delivers flavors properly.
Food Pairings
Cheese: Aged goat cheese, brie, or sharp cheddar Meat: Grilled lamb, roasted duck, or barbecue pork Dessert: Dark chocolate, berry tarts, or vanilla ice cream Appetizers: Charcuterie boards, nuts, or dried fruits
Seasonal Serving Ideas
Summer: Serve over ice with fresh mint Fall: Warm gently with cinnamon for a mulled version Winter: Pair with hearty stews and roasts Spring: Mix with sparkling water for a refreshing spritzer
Storage and Shelf Life
Properly made blackberry mead lasts for years. I’ve enjoyed bottles that were 5+ years old and still delicious.
Storage Tips
Keep bottles upright in a cool, dark place. Basements work great if they’re not too damp. Wine fridges are perfect if you have one.
Check corks annually. If they’re drying out or shrinking, it’s time to re-cork or drink up.
Signs of Spoilage
Bad mead is rare but possible. Watch for:
- Vinegar smell
- White film on surface
- Fizzing when it shouldn’t
- Off colors or cloudiness
When in doubt, trust your nose. Good mead smells fruity and pleasant.
Common Mistakes to Avoid
Learn from my blunders so you don’t repeat them. These mistakes cost me time, money, and some really good honey.
The Impatience Trap
I get it – you want to taste your creation. But rushing leads to problems. Racking too early brings sediment into clean mead. Bottling before fermentation completes can create bottle bombs.
Wait for the process to finish naturally. Your patience will be rewarded with clearer, better-tasting mead.
Over-Sanitizing (Yes, That’s a Thing)
While cleanliness is crucial, you can go overboard. I once used so much sanitizer that it affected my mead’s flavor. Follow package directions and you’ll be fine.
Temperature Neglect
Yeast is picky about temperature. Too hot and it dies. Too cold and it goes dormant. I learned this the hard way when my basement got too chilly one winter.
Keep your fermenting mead between 65-75°F for best results.
Fruit Timing Mistakes
Adding fruit at the wrong time creates problems. Too early and it interferes with primary fermentation. Too late and you won’t extract enough flavor.
Stick to the schedule I’ve outlined. It works.
Advanced Techniques for Experienced Brewers
Ready to take your mead game to the next level? These techniques require more skill but create exceptional results.
Nutrient Staggering
Instead of adding all your yeast nutrient at once, split it into three additions. Add 1/3 at pitching, 1/3 at 24 hours, and 1/3 at 48 hours. This feeds the yeast gradually and prevents stress.
Cold Crashing
After secondary fermentation, chill your mead to 35-40°F for a week. This makes sediment drop out faster and creates brilliant clarity.
Bentonite Fining
For professional-level clarity, add bentonite clay during secondary fermentation. Follow package directions carefully – too much creates its own haze.
Blending Techniques
Make multiple small batches with different honey types or fruit ratios. Blend them to create complex flavor profiles you can’t achieve with single batches.
The Economics of Mead Making
Let’s talk money. Making your own blackberry mead saves serious cash compared to buying commercial versions.
Cost Breakdown (Per Gallon)
- Honey: $15-25
- Blackberries: $8-15
- Yeast and supplies: $3-5
- Total: $26-45 per gallon
That’s about $7-11 per bottle. Compare that to $20-40 for commercial blackberry mead and you’re saving big.
Equipment Investment
Initial setup costs around $75-150 for basic equipment. But it lasts for years. I’m still using gear I bought in 2012.
Spread over multiple batches, your per-bottle cost drops significantly.
Seasonal Considerations
Timing matters when making blackberry mead. Here’s what I’ve learned about working with the seasons:
Spring Starts
March and April are perfect for starting batches. Temperatures are mild and you’ve got all summer for fermentation. Plus, fresh berries will be available soon if you want to add more later.
Summer Peaks
Peak blackberry season means cheaper, better fruit. I make most of my batches between June and August when berries are abundant.
Fall Finishing
Cool weather helps with clarity and slow fermentation. October and November are great times to rack and prepare for bottling.
Winter Patience
Cold months are perfect for aging. Lower temperatures slow chemical reactions, allowing flavors to develop gradually.
Building Your Mead Library
Don’t just make one batch and call it good. Build a collection that showcases different styles and ages.
The Three-Batch Strategy
Make three batches each year with different profiles:
- Light and fruity (1.5 lbs berries per gallon)
- Medium intensity (2.5 lbs berries per gallon)
- Bold and rich (3.5 lbs berries per gallon)
This gives you options for different occasions and palates.
Record Keeping
Keep detailed notes on each batch. Date, ingredients, weather, fermentation notes – everything. I use a simple notebook but digital works too.
These records become invaluable when you want to recreate a particularly good batch.
The Community Aspect
Mead making connects you with an amazing community. Don’t brew in isolation.
Local Homebrew Clubs
Most areas have homebrew clubs that welcome mead makers. You’ll learn techniques, share ingredients, and make friends who understand your obsession.
Online Resources
Forums like Reddit’s r/mead and HomeBrewTalk have active, helpful communities. Post questions, share successes, and learn from others’ mistakes.
Mead Tastings
Organize tastings with fellow brewers. It’s fun and educational. You’ll discover new flavor combinations and techniques.
Final Thoughts: The Art of Patience
Making blackberry mead teaches you patience. In our instant-gratification world, there’s something deeply satisfying about creating something that takes months to perfect.
That first bottle you crack open after a year of waiting? It’s worth every minute. The complex flavors, the beautiful color, the satisfaction of creating something amazing with your own hands – it’s addictive.
Don’t get discouraged if your first batch isn’t perfect. Mine wasn’t. My second wasn’t either. But each batch teaches you something new. Each bottle gets better.
The ancient art of mead making connects us to generations of brewers who understood that good things take time. Your blackberry mead isn’t just a drink – it’s a connection to history, a testament to patience, and a celebration of nature’s bounty.
So grab some honey, pick up those berries, and start brewing. Your future self will thank you when you’re sipping that perfect glass of homemade blackberry mead.
Remember – every expert was once a beginner. Every amazing mead started with someone taking that first step. Make yours count.
Cheers to your brewing journey ahead!
Blackberry Mead (Blackberry Melomel)
Ingredients
Method
- Sanitize all equipment with Star-San or similar sanitizer
- Crush blackberries in fermenting bucket using potato masher
- Heat 2 quarts water to 160°F, remove from heat
- Slowly stir honey into warm water to create must
- Pour warm must over crushed berries
- Add cool water until total volume reaches 3/4 gallon
- Check temperature - when below 80°F, sprinkle yeast on top
- Stir gently to distribute yeast evenly
- Cover with loose lid, ferment 7 days stirring daily
- Strain through cheesecloth into clean carboy
- Attach airlock, ferment 4-8 weeks until clear
- Rack to remove sediment, wait 2 more weeks
- Bottle in wine bottles, leaving 1.5 inches headspace
- Cork bottles and age 3-6 months minimum
Notes
- Frozen berries work better than fresh as freezing breaks down cell walls
- Fermentation temperature should stay between 65-75°F
- Mead improves significantly with aging - best after 1-2 years
- Store finished bottles upright in cool, dark place
- Always sanitize equipment to prevent contamination
FAQ
How long does blackberry mead take to make?
Blackberry mead takes 3-6 months for basic drinkability, but reaches peak flavor after 1-2 years of aging. Primary fermentation lasts 1-2 weeks, secondary takes 4-8 weeks, then bottling and aging follow.
What’s the alcohol content of homemade blackberry mead?
Most blackberry meads finish between 12-16% ABV, depending on honey amount and yeast strain. Using 3 pounds of honey per gallon typically produces 14-15% alcohol content.
Can I use fresh blackberries instead of frozen?
Yes, but freeze fresh berries overnight before using them. Freezing breaks down cell walls, making juice extraction easier and more complete. Fresh berries work but require more effort.
How much does it cost to make blackberry mead at home?
Homemade blackberry mead costs $7-11 per bottle compared to $20-40 for commercial versions. Initial equipment investment is $75-150 but lasts for years.
What type of honey works best for blackberry mead?
Wildflower or clover honey work best for blackberry mead. Avoid strongly flavored honeys like buckwheat that can overpower the berry flavors. Raw, unfiltered honey creates the most complex taste.
Why is my blackberry mead cloudy?
Cloudy mead usually means fermentation isn’t complete or you need more time for sediment to settle. Wait 2-4 more weeks, then rack to a clean container. Pectic enzyme can help with persistent cloudiness.
How do I know when fermentation is finished?
Fermentation is complete when bubbling stops completely, the liquid becomes clear, and specific gravity reads 1.000-1.010. Visual cues include no foam, settled sediment, and clear liquid.
Can blackberry mead go bad?
Properly made blackberry mead lasts years when stored correctly. Signs of spoilage include vinegar smell, white film on surface, unexpected fizzing, or off colors. Trust your nose – good mead smells fruity and pleasant.
What’s the difference between mead and melomel?
Mead is traditional honey wine made with honey, water, and yeast. Melomel is mead that includes fruit – in this case, blackberries. The fruit adds sugars, acids, and tannins that change fermentation and flavor.
How should I store finished blackberry mead?
Store bottles upright in a cool, dark place between 55-65°F. Basements work great if they’re not too damp. Check corks annually and avoid temperature fluctuations.
Can I make blackberry mead without special equipment?
Basic blackberry mead requires minimal equipment: food-grade bucket, glass jug, airlock, siphon tube, and bottles. Total investment is under $50 for starter gear that works perfectly fine.
What foods pair well with blackberry mead?
Blackberry mead pairs excellently with aged cheeses, grilled meats, dark chocolate, and charcuterie boards. It’s also delicious with barbecue pork, roasted duck, or berry desserts.
How do I fix mead that’s too sweet or too dry?
For overly sweet mead, add acid blend or let fermentation continue longer. For too-dry mead, back-sweeten with honey syrup after fermentation completes. Make adjustments gradually.
Is it legal to make blackberry mead at home?
Yes, it’s federally legal to make up to 200 gallons of mead per adult (400 gallons per household) annually for personal consumption. Check your local and state laws for any additional restrictions.
What causes stuck fermentation in blackberry mead?
Stuck fermentation usually happens due to temperature issues, nutrient deficiency, or stressed yeast. Add yeast nutrient, gently warm to 75°F, or pitch fresh yeast to restart fermentation.