Lemon Caper Veal Piccata
Jump to Recipe
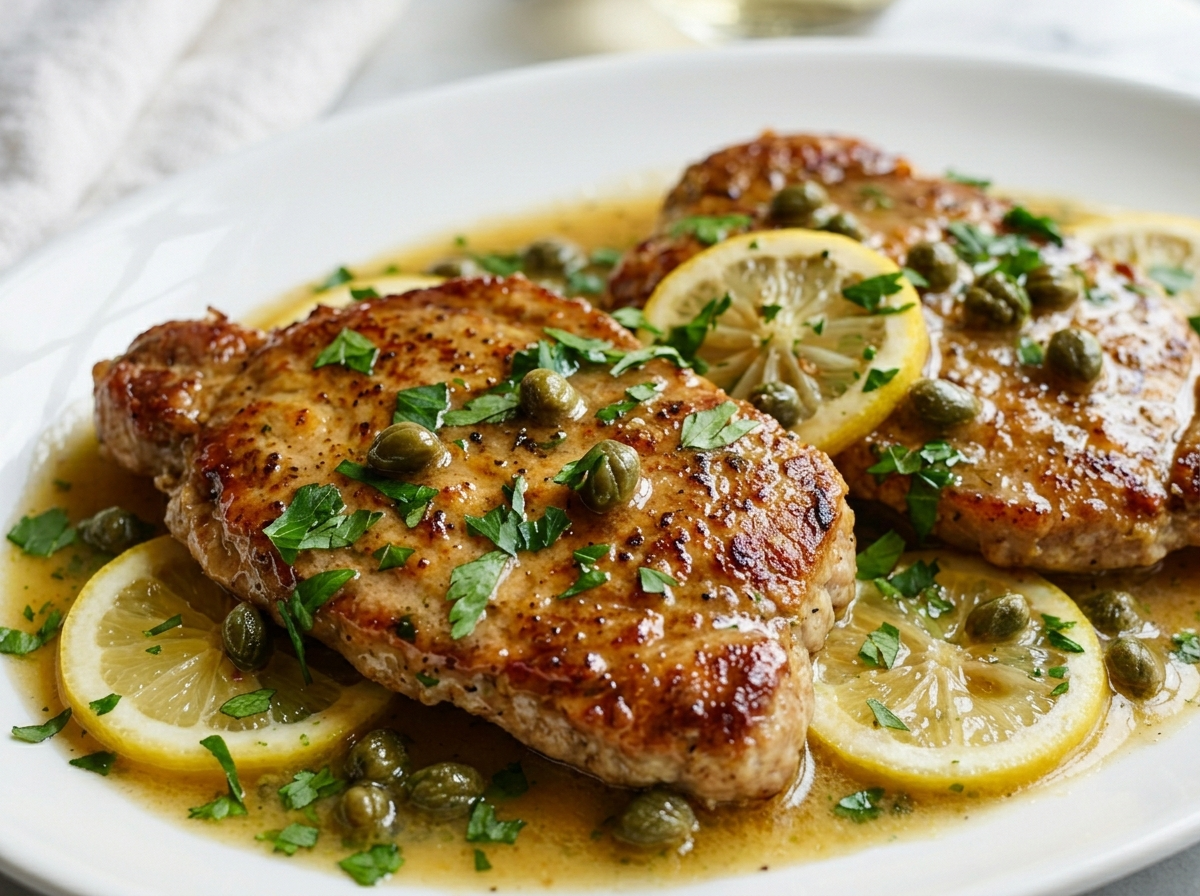
Veal piccata is a Roman-American classic built on three things: thin cutlets, a screaming-hot pan, and a sauce that comes together in the same skillet while the meat rests.
The cutlets are dredged in flour, seared in butter and olive oil until golden at the edges, then set aside while you build the pan sauce from white wine, lemon juice, and capers. Cold butter goes in at the end to pull it all into a glossy, briny coating.
This isn’t a weekend project. From slicing the lemon to plating, you’re looking at about 40 minutes. The technique is straightforward, but the timing matters, so read through the steps before you start.
If you can’t find veal cutlets already pounded thin, buy scaloppine or ask the butcher to slice the leg at about 6 mm. The thinner the cut, the faster the cook and the more tender the result.
Why You’ll Love This Recipe
- Ready in 40 minutes with minimal cleanup
- Pan sauce builds from the fond, no extra pots
- Bright lemon and briny capers balance the rich butter
- Thin cutlets cook through in under 3 minutes per side
Ingredient Notes
- Veal cutlets: Look for scaloppine cut from the leg, about 100-120 g each and no thicker than 6 mm. If they’re thicker, place between plastic wrap and pound to an even 4-5 mm with a meat mallet.
- Capers: Brined capers work better here than salt-packed ones because the vinegar brine adds acidity to the sauce. If you only have salt-packed, rinse them thoroughly and reduce the lemon juice slightly.
- Dry white wine: A dry Pinot Grigio or Sauvignon Blanc gives the sauce clean acidity without sweetness. Chicken stock with a splash of extra lemon juice works as a non-alcoholic substitute.
- Unsalted butter: Divide it: some goes in early for the sear, the rest goes in cold at the very end to emulsify the sauce. Cold butter is what makes the sauce glossy and cohesive, not greasy.
- All-purpose flour: The thin flour coating gives the cutlets a light crust and helps the sauce cling. For a gluten-free version, substitute fine rice flour or a 1:1 gluten-free blend.
- Fresh lemon: You’ll need both juice and thin slices. Use a microplane to zest one of them into the sauce if you want a more pronounced citrus note, though it’s not traditional.
Lemon Caper Veal Piccata
Ingredients
Method
- Place the veal cutlets between two sheets of plastic wrap. Use a meat mallet or rolling pin to pound any pieces thicker than 5 mm to an even 4-5 mm.
- Mix the flour, salt, and black pepper in a shallow dish. Pat the cutlets dry with paper towels, then dredge each one in the seasoned flour, shaking off any excess. Set on a plate in a single layer.
- Heat a 12-inch stainless steel skillet over medium-high heat. Add 1 tbsp olive oil and 30 g butter. When the butter stops foaming and the pan is hot, add half the cutlets in a single layer.
- Sear for 2 minutes without moving until the underside is golden brown. Flip and cook for 1 to 2 minutes more until the other side is golden and the edges are fully opaque. Transfer to a plate and tent loosely with foil.
- Add the remaining 1 tbsp olive oil and repeat with the second batch of cutlets. Transfer to the plate with the first batch.
- Reduce the heat to medium. Add the sliced garlic to the pan and cook for 30 seconds, stirring, until fragrant but not browned.
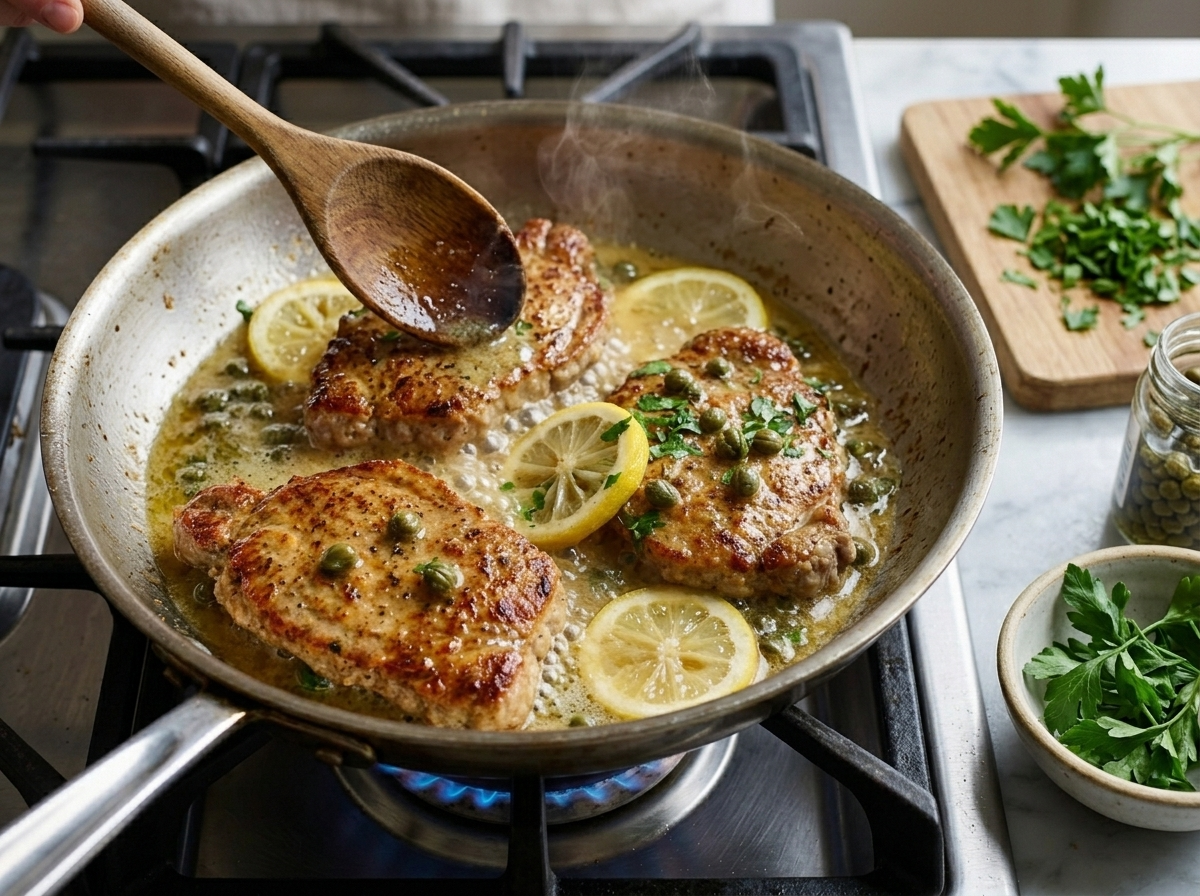
- Pour in the white wine. Scrape up the browned fond from the bottom of the pan with a wooden spoon. Let the wine reduce by half, about 2 minutes.
- Add the chicken stock, lemon juice, and lemon slices. Bring to a gentle simmer and cook for 3 minutes until the sauce reduces slightly and coats a spoon lightly.
- Stir in the capers and taste the sauce. Adjust salt carefully - capers add brine.
- Pull the pan off the heat completely. Add the cold butter in 4-5 small pieces, whisking steadily between each addition, until the sauce is glossy and emulsified.
- Return the cutlets to the pan and spoon the sauce over them. Let them sit in the sauce for 1 minute off the heat to warm through without overcooking.
- Transfer cutlets to warm plates, spoon the remaining sauce over the top, and scatter with chopped parsley. Serve immediately.
Notes
Tips for Success
- Pat the cutlets completely dry before dredging so the flour sticks evenly and the sear stays crisp.
- Cook in two batches if your skillet is under 12 inches – crowding drops the pan temperature and the meat steams instead of browns.
- Deglaze with wine while the pan is still hot to lift the fond completely, which is where most of the sauce flavor comes from — the same principle that makes a beer-braised pan’s fond worth building carefully.
- Pull the pan off direct heat before whisking in the cold butter pieces so the sauce emulsifies rather than breaks into grease.
- Taste the sauce before plating and adjust with a few drops of lemon juice if it tastes flat – capers vary in saltiness, so don’t season until the end.
Variations
- Chicken piccata: substitute thin-pounded chicken breast cutlets, same sauce and timing.
- Caper-olive piccata: add 2 tbsp sliced green olives with the capers for a saltier, more Sicilian profile.
- Piccata with artichokes: stir in 80 g drained quartered artichoke hearts when you add the wine for a heartier pan sauce.
Storage and Reheating
Store leftover veal and sauce together in an airtight container in the fridge for up to 2 days. The sauce will thicken and the butter will solidify when cold, which is normal.
To reheat, place the cutlets and sauce in a skillet over low heat with a splash of chicken stock or water. Heat for 3-4 minutes, turning once, until just warmed through. Don’t use high heat or the veal will tighten and the sauce will separate.
Freezing isn’t recommended. The butter-based sauce breaks on thawing and the thin cutlets lose their texture.
Serving Suggestions
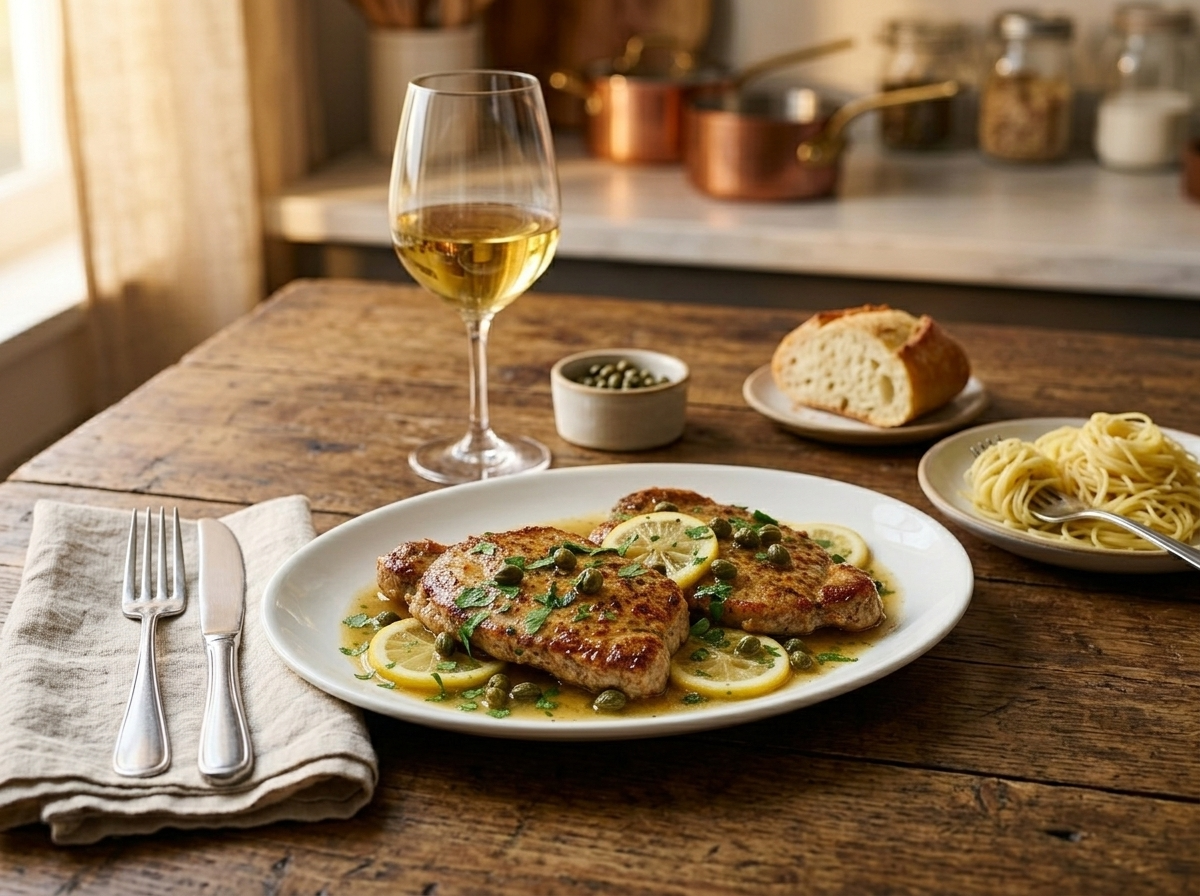
The classic pairing is pasta al burro or spaghetti with a little olive oil, which catches the extra pan sauce. Angel hair works especially well because it doesn’t compete with the delicate veal.
Roasted or steamed vegetables like broccolini, green beans, or asparagus keep the plate light, and silky cauliflower puree works just as well for a more elegant presentation. A handful of arugula dressed with olive oil and lemon under the cutlets also works well, wilting slightly from the heat of the meat.
For a more substantial plate, serve alongside creamy polenta or mashed potatoes, or pair it with a rich stovetop risotto that soaks up the lemon-caper sauce beautifully. Both absorb the lemon-caper sauce cleanly without muddying the flavor.
FAQ
Why is my veal piccata sauce greasy instead of glossy?
The butter was added while the pan was too hot, which caused it to break rather than emulsify. Pull the pan off the heat completely, then whisk in cold butter pieces one at a time until the sauce comes together smooth and shiny.
Can I use chicken broth instead of white wine in veal piccata?
Yes, substitute an equal amount of low-sodium chicken broth and add an extra squeeze of lemon juice to replicate the acidity. The sauce will be slightly less complex but still works well.
How do I know when the veal cutlets are done in the pan?
At 4-5 mm thickness, the cutlets are cooked through when the edges turn opaque and the surface is golden brown, about 2 minutes per side over medium-high heat. Cut into one if you’re unsure – there should be no pink in the center.
Can I make the lemon caper sauce ahead and reheat it?
The sauce is best made fresh because butter-emulsified sauces don’t hold well once cooled and reheated. If you need to prep ahead, make the wine and lemon reduction in advance and whisk in the cold butter right before serving.
What is the difference between veal piccata and veal scaloppine?
Scaloppine refers to the cut – thin slices of veal pounded flat. Piccata is a preparation style where scaloppine is cooked with lemon, capers, and butter. All veal piccata uses scaloppine, but not all scaloppine dishes are piccata.
Is lemon caper veal piccata gluten-free?
Not as written, because the cutlets are dredged in all-purpose flour. Swap the flour for fine rice flour or a certified gluten-free 1:1 blend to make the dish gluten-free without changing the texture noticeably.
More from the kitchen
About The Author

John
John Watson is the passionate food enthusiast behind MePlusFood.com. With a deep love for exploring culinary delights, he shares honest restaurant reviews, mouthwatering recipes, and culinary adventures. Join John on his flavorful journey to savor the world one bite at a time.